Contents
Did you know that over 14 million homes in the U.S. are at risk of flooding each year? When disaster strikes, knowing how to effectively tackle the aftermath can make all the difference. It’s vital to approach flood cleanup methodically, ensuring each step is followed for your safety and the preservation of your property. Let’s explore the essential steps you need to take to restore your space and prevent future damage.
Key Takeaways
- Conduct a thorough assessment of the space for hazards and structural damage before beginning cleanup efforts.
- Gather essential cleanup supplies and safety gear to ensure a safe and efficient process.
- Remove standing water promptly using appropriate tools, while being cautious of hidden hazards.
- Clean and disinfect all affected areas thoroughly to prevent mold growth and contamination.
- Document damages and repairs meticulously for insurance claims and future reference.
Assess the Damage and Ensure Safety
Before you plunge into cleanup efforts, it’s essential to assess the damage and guarantee your safety. Start with a thorough damage evaluation of your space. Look for structural issues like cracks in walls or ceilings, and check for electrical hazards. If you see any standing water, avoid entering those areas until they’re deemed safe.
Next, follow established safety protocols. Wear protective gear, including gloves and boots, to shield yourself from contaminants. Verify your home’s power is off to avoid electrical shock, and use a flashlight if the lights are out.
Consider enlisting help from neighbors or friends; you’re not alone in this. Sharing your experience can foster a sense of community, and they can provide valuable support.
Taking these careful steps not only protects you but also sets the stage for effective cleanup. Your safety is the priority, and a thoughtful approach will help you navigate this challenging time.
Gather Necessary Cleanup Supplies
Before you start cleaning up, it’s vital to gather all the necessary supplies to guarantee a smooth process.
Make a checklist of essential tools like mops, buckets, and disinfectants, while also prioritizing safety gear such as gloves and masks to protect yourself from contaminants.
Being well-prepared not only makes the cleanup more efficient but also helps safeguard your health during this challenging time.
Essential Tools Checklist
When tackling flood cleanup, having the right tools at your fingertips can make all the difference in restoring your space efficiently and safely.
First, gather a sturdy pair of gloves, a mask, and a reliable flashlight to navigate dark areas. You’ll also need buckets, mops, and a wet/dry vacuum to remove excess water.
Don’t forget cleaning supplies like bleach and disinfectants to guarantee surfaces are sanitized. A strong utility knife can help you remove damaged materials, while a fan will aid in drying out the area.
Finally, keep your flood insurance policy and emergency contacts handy. This checklist not only prepares you for the task ahead but also supports your community’s recovery efforts.
You’re not alone in this.
Safety Gear Importance
As you prepare to tackle the aftermath of a flood, prioritizing safety gear is essential for protecting yourself during cleanup. Start by gathering personal protective equipment like gloves, masks, and sturdy boots. These items shield you from hazardous materials and contaminants often present after flooding.
It’s vital to wear goggles to protect your eyes from debris and irritants. Consider a hard hat if you’re in structurally compromised areas.
Remember, safety gear isn’t just about physical protection; it fosters a sense of belonging among those working together in recovery. By equipping yourself properly, you’re not only safeguarding your health but also showing respect for the collective effort to restore your community.
Let’s tackle this challenge with care and determination.
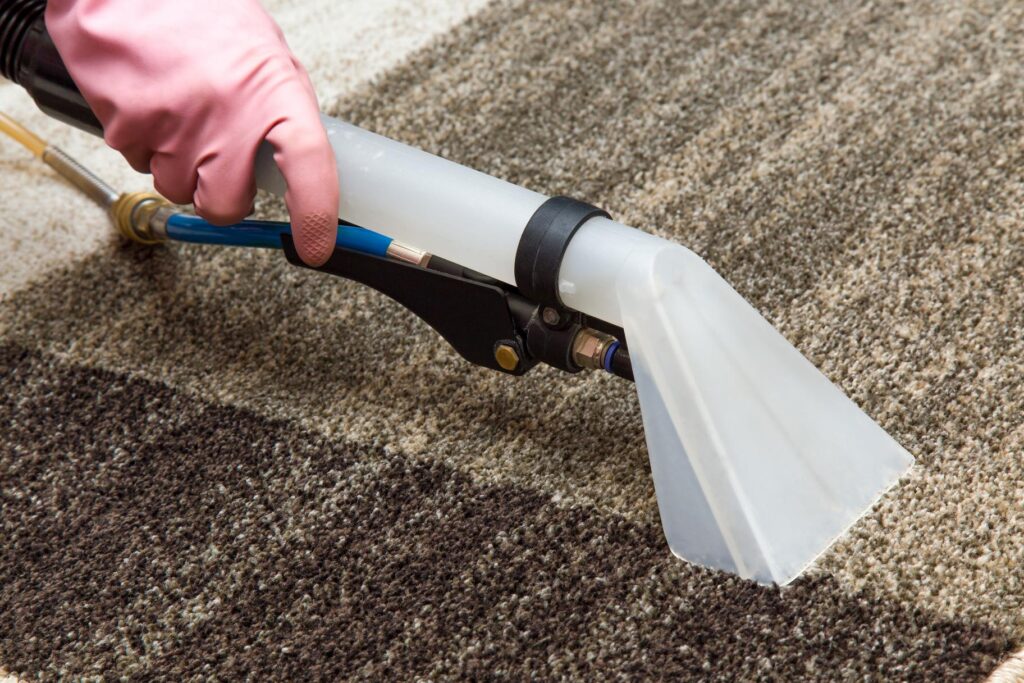
Remove Standing Water
To tackle standing water effectively, start by evaluating the affected areas and determining the depth of the water. This step is essential, as different depths may require distinct water removal methods.
For shallow water, a wet/dry vacuum or a sump pump can be useful, while deeper pools might need professional assistance.
Always be cautious of standing water hazards, such as hidden debris or electrical risks. While you work, make sure you wear appropriate safety gear to protect yourself.
Once you’ve safely removed the water, check for any potential contamination, as floodwater can carry harmful substances.
Be thorough in your cleanup, as lingering moisture can lead to mold growth and further issues down the line.
Dry Out Affected Areas
After successfully removing standing water, it’s time to focus on drying out the affected areas. Start by opening windows and doors to promote airflow.
Use fans to circulate air, and consider investing in a dehumidifier. This tool is essential for removing excess moisture, helping to prevent mold growth and further damage.
As you work, regularly check moisture levels with a moisture meter. Aim for a relative humidity level below 60% to keep your space safe and comfortable.
If certain materials, like carpets or drywall, remain damp, they may need replacement to avoid future issues.
Clean and Disinfect Surfaces
Once you’ve dried out the affected areas, it’s essential to clean and disinfect all surfaces to prevent mold and bacteria growth.
Start by gathering the necessary cleaning supplies, ensuring you have effective disinfectant solutions on hand.
Gather Cleaning Supplies
Gathering the right cleaning supplies is essential for effectively tackling the aftermath of a flood.
You’ll need to approach this with care, ensuring you have all the necessary tools to restore your space. Start by sourcing supplies that are reliable and proven for flood cleanup.
Here’s a quick list to help you get started:
- Heavy-duty gloves – Protect your hands from contaminants while you work.
- Mops and buckets – Essential for using effective cleaning techniques on surfaces.
- Microfiber cloths – Perfect for wiping down areas and trapping dirt.
Local hardware stores or online supply sources can be excellent for finding these items.
Use Disinfectant Solutions
Cleaning and disinfecting surfaces is essential in your flood recovery process, as it helps eliminate harmful bacteria and mold that can thrive in damp environments.
Start by choosing the right disinfectant types, such as bleach solutions or EPA-registered disinfectants. Each option has its specific strengths, so read labels carefully to guarantee effectiveness.
When applying disinfectants, use methods like spray bottles or cloth wipes to guarantee even coverage. Allow the solution to sit for the recommended contact time to kill germs effectively.
Don’t forget to wear gloves and guarantee proper ventilation while you work. After disinfecting, rinse surfaces if necessary, particularly when using bleach.
Proper Drying Techniques
While tackling flood recovery, proper drying techniques play a crucial role in preventing further damage and health risks.
To guarantee effective cleanup, focus on these essential steps:
Control Humidity: Use dehumidifiers to reduce moisture levels in the air, preventing mold growth.
Enhance Air Circulation: Open windows and doors to promote airflow, or use fans to circulate air throughout the affected areas.
Check for Hidden Moisture: Inspect behind walls and under floors, as lingering dampness can lead to serious issues.
Address Mold Prevention
Since mold can start to develop within just 24 to 48 hours after a flood, taking immediate action is vital to prevent its growth in your home.
First, make sure you thoroughly dry all affected areas. Use fans, dehumidifiers, and open windows to reduce humidity levels, as this discourages various mold types. Inspect for hidden moisture pockets in walls and under floors; these can foster mold growth if not addressed.
Next, clean and disinfect surfaces using a mixture of water and detergent, or a specialized mold cleaner. Pay close attention to areas prone to dampness, like basements and bathrooms.
If you notice any mold patches, wear protective gear and remove the affected material carefully, disposing of it properly.
Finally, consider applying a mold-resistant sealant to vulnerable surfaces.
Restore and Repair Damaged Property
Once you’ve addressed mold prevention, it’s time to focus on restoring and repairing your property to its pre-flood condition.
This process can feel overwhelming, but taking it step by step will help you regain a sense of normalcy.
- Assess Damage: Walk through your property to identify all areas that need attention.
Make a detailed list of damaged items and structural issues.
- Choose Repair Techniques: Depending on the severity, you might need to replace flooring, repair drywall, or even call in professionals for major repairs.
Consider using water-resistant materials to prevent future damage.
- Document Everything: Keep records and take photos for insurance claims.
This documentation is essential for receiving necessary support during your recovery.
Summary
As you navigate the aftermath of a flood, think of your property like a garden. Just as you’d clear away debris to help flowers bloom again, each step in your cleanup is essential for restoring your home. By following these seven steps diligently, you’re not just repairing damage; you’re cultivating resilience. Remember, a well-tended garden thrives even after the harshest storms—your efforts now will help your home flourish in the future, stronger and more prepared for whatever comes next.
Recent Posts
What to Do After Storm Damage Hits Your Cartersville Home
Severe weather is a fact of life in Georgia. From powerful thunderstorms and damaging hail
Signs You Need Mold Remediation in Your Georgia Home
Georgia’s warm, humid climate creates the perfect breeding ground for mold. For homeowners in Cartersville,
What to Do After Water Damage in Your Cartersville, GA Home
Water damage in your Cartersville, GA home? Atlantis Restorations shares the exact steps Bartow County homeowners should take to protect their property and start recovery fast. Call 404-500-8603 for 24/7 emergency service.